Podcast
NTE Podcast: August Mailbag

Aug
NTE Podcast: August Mailbag
Hey folks, thanks for tuning in today. Many emails coming to us in the last few weeks, asking about current project conundrums, so I thought it was a good time for a mailbag episode. I’ll talk about RV insulation, flooring for a concrete garage floor, cabinet finishes and more. Keep those questions coming!
iTunes
Google Play
Spotify
Transcript
August Mailbag
Andrew Pace: Welcome to Non Toxic Environments podcast. My name is Andrew Pace every week my cohost Jay Watts and I will discuss healthier home improvement, ideas and options. Thank you for finding us and please enjoy the show.
Hello. Well, folks, welcome back to Non Toxic Environments. This is Andy Pace. This week I am doing a solo show- actually last week, Jay and I couldn’t make the call. It couldn’t make the connection. We had talked about how busy it’s been this summer. It’s interesting because of COVID the pandemic, we saw a couple of months early on this year, March, April, a little slower than the normal. I think people were just kind of working into what was going on and the typical summer construction season pushed back a little bit, pushed back a couple of months, I believe. And right now where things would start to slow down a little bit, as kids are going back to school, it’s actually picking up. So Jay and I couldn’t connect last week to do a show this week, we actually did connect to do a show, unfortunately, with the issues with technology it just didn’t work. Unfortunately we didn’t get have a good connection. I’m taking the topic that we talked about and I’ll just record it solo. So please bear with me this week, folks. It’ll be just my voice.
So we decided to do a topic on our monthly mailbag. We’ve got a lot to talk about in the next few months, folks, we’ve got several interviews lined up to talk about some exciting new projects, some exciting new educational series that a very, very well known, a wonderful designer from up in Toronto is putting together. And we’ll speak with her in the upcoming few weeks. But we get a lot of email that comes through asking random questions about projects and products. And we’ve had such great responses from these shows that we want to make sure we’re doing at least one mailbag episode a month and considering how busy it is.
And there are people who are in the midst of projects. We thought it’d be a good idea to make this week’s episode, our, our mailbag issue. So I’ll start off with this one question came in to Jay about a client who was interested in attaching wool insulation onto a wall of a cargo van that they are renovating into a healthy RV. Now, Jay and I talked about this before the episode a week before we started recording, I’d actually like to have a couple of experts come on and talk to all of us about this process. Not because I don’t know how to do a healthy RV, a remodel or a conversion. It’s actually quite the opposite. It’s the fact that there’s so many ways that you can do it and the RV community is a very, very close knit community.
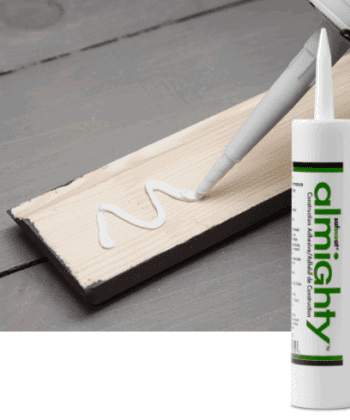
There’s a lot of good information out there. A lot of good companies who are actually doing these conversions, it’s really a lot of the same companies and individuals that are working on tiny homes. If I recommended rock wall insulation, I’m going to get 98 emails from people saying, well, why didn’t you use a natural wool? Why didn’t you use this? Why didn’t you use that? So we’re going to have an expert or two on to talk to us about this, but in the meantime, this particular application installing wool. Now two questions I have- number one, which type of wool are we talking about? Mineral wool, are we talking about natural sheep wool? Second question would be, what are we attaching to? The customer didn’t say, I assume it’s to a metal wall panel. So in that situation, I recommend using something like the AFM Almighty Adhesive or the Chemlink Buildsecure, or the Chemlink M1. These adhesives will stick to metal. When it comes to the installation itself, make sure it’s like a batt insulation, something that’s woven together.
It can’t be a loose fill insulation because then you’re going to be gluing every piece somewhere, and that’s not gonna work. I’d also recommend some strapping material like traditional insulation strapping, because especially if it’s sheep’s wool, it’s going to sag a bit over time and you’re going to get some spots where you’ve got to a void of material. So the use of strapping material we’ll keep that in place.
All right. I got an email from Irma and Irma asks- she was looking at using the AFM Safe Seal for a project to deal with off gassing of new pegboard. That’s typically used in garages and tool rooms to hang up tools and so forth. Would this product also worked for an antique wooden dresser that seems to have picked up an intensely musty odor over the years. Thank you and thank you for having products that keep our homes healthier.
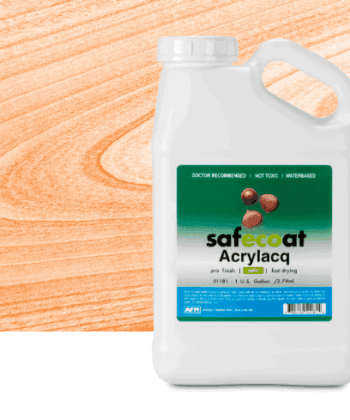
Thanks, Irma. I appreciate the email. Let me say this AFM Safe Seal is a wonderful sealer for sealing up chemical off gassing from new particle board, plywood, and OSB and pegboard is typically from a particle board material. So yes, that would work for sealing up the peg board Regarding the antique wood dresser. I’d probably look at something like the AFM Acrylacq, and here’s why- the AFM Safe Seal is great for chemical off gassing in your situation we’re dealing with probably more natural aromas. Wood can absorb moisture. It can absorb smells from things that have been in there for years, perfumes, colognes, lotions, candles, the musty odor from old mold spores and so forth, it’s like a sponge. Safe Seal is not good for sealing up organic or natural aromas. It’s really good for chemicals.
Also Safe Seal never really dries to a hard durable finish the way that a hard Acrylacq or polyurethane would. And that’s what you need for furniture. So I’d recommend the AFM Acrylacq for that application. Again, Acrylacq is a commercial professional furniture grade finish. It will help to minimize odors. It’s not going to seal it up. What I would do is prior to the application of the Acrylacq, I would make sure all the surfaces are prepared to receive the Acrylacq and what I mean by that is make sure that the surfaces are sanded and wiped clean. At that point, I would probably use something like the Deodoroc product that we’ve talked about on past shows. Deodoroc rock is a zeolite. It’s a blend of natural minerals that will absorb mold spores, chemical aromas, natural aromas, really good product for this application. For that, I’d ask you to look at our episode 321 from back in July called Using Zeolite for Natural Odor Reduction. You’ll hear from Trevor Mullins whose family has been in the business for well over 30 years. And so he can explain to you the effectiveness of that product. So I hope that helps. Thanks.
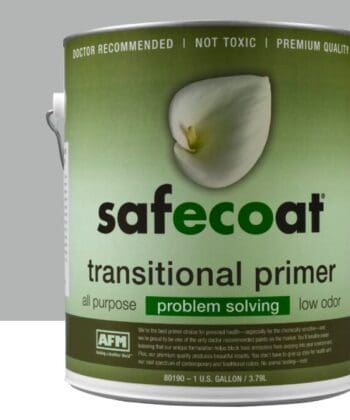
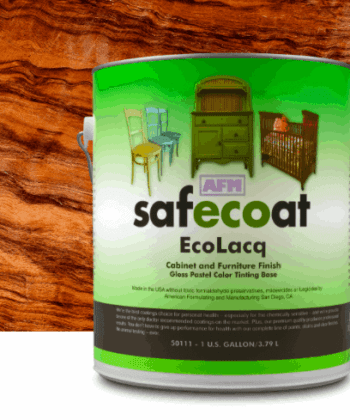
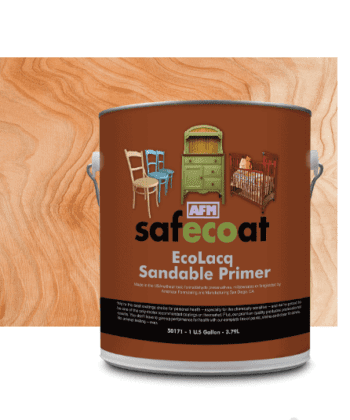
The question has come up about the use of furniture finishes, and actually it’s a series of questions. As I just said, we recommend the use of the Acrylacq material for a clear finish on furniture. But what if you want a painted finish? Well, it used to be years past a painted finish would be using AFM Transitional Primer, the Semigloss wall paint, and then most often a clear top coat to give you that hard, durable shell, that hard coating over the top. While people still do this here’s the problem we have with that. If you want white cabinetry, the semi-gloss wall paint is just that- it’s a wall paint is not designed to be used as furniture. So it doesn’t lay down as smooth as a pigmented lacquer that’s used for cabinetry. So quite often, you’re going to end up with brush marks or lap lines because of that. The second thing is when you put a clear finish over, let’s say white coating, no matter how white the coating is, no matter how clear the top coat is, inevitably what happens is when the clear top coat cures, the whole surface will look like it has a tinge of yellow to it. And I’ll tell you how that happens. Light comes through the clear finish hits the white bounces back, and as it bounces back, it refracts the light, altering the color and it shows up as this really odd, almost like a tea stain color, uh, or an antiquey yellow color. And it’s not very attractive and most situations. So several years ago, AFM invented a pigmented version of the Acrylacq called Ecolacq and this is what we recommend. But this is not a typical wall paint. This is not designed specifically for applying with a brush. It’s designed for applying using spray equipment, professional spray equipment. This is why cabinet makers, furniture makers, professional painters, who do doors and trim for whole house projects, they do so well with it because it’s designed for spray equipment. If you’re using at home and you have to apply it using hand tools, it comes down to how good of a tool you have and how heavy or light you are with the hand applying it. It can be done by hand. Matter of fact, we’ve got a project going on right now where they are using a combination of sprayed doors, installed into hand-finished door frames, and the two look wonderful together, color matches, everything, the sheen matches and the people applying it did just a brilliant job. But for the average homeowner who is used to working with regular wall paint, this is going to come in a little different to you. It is thinner. This has the viscosity of a clear finish. It’s very watery. So when we say you have to put it on thin, sometimes it’s difficult to put it on thin because you get drips and runs and pooling and puddling. You have to put it on very, very thin. And if you think you put it on too thin, that’s fine, the next coat will cover up what you missed. And you’ve got to build layers. Typically with wall paint, we say you should put on one coat of primer and two coats of finish for just about any application with this product. One coat of primer and three coats, four coats, maybe five coats of finish, because it goes on so thin, but this is what’s going to give you the absolute best appearance when it’s fully cured. This is a furniture grade finish. This is something we use on kitchen cabinetry, very durable, very washable, and it comes either a gloss or a matte finish folks. This has been a really, really popular product, but if you’re not used to working with this thin in viscosity, this watery of a finish for woodwork it’s is probably not something to tackle on your own if you don’t have the experience. And believe me, we get right now, we probably have more kitchen cabinet refinishing projects across the country than we do new cabinet projects. Those of us, or those of you who are spending time at home, more so than normal working from home kids are at home and you’re looking at what to do around the house for projects and say, well, these cabinets are in good shape, but we could use a fresh color. It’s not just as easy as painting a wall. There’s a lot involved with the preparation. There’s a lot involved with taking off hardware, putting back hardware. The best application is to have the doors removed and spray them horizontally instead of vertically, again, a lot involved. And when working with a product like the AFM Ecolacq and the AFM materials, their materials are solvent free, which is of course good, because that means that it doesn’t have all those toxins that the traditional solvents typically carry with them. The downside is that solvents in finishes actually make the application easier in most situations. So if you’re looking for a product that’s going to work really easily, and it’s not going to be much trouble, unfortunately you’re going to have to use a product that is far more toxic than what the AFM material is. If you’re looking for a durable, long lasting, uh, low tox, easy to accept- it’s not going to drive the entire family out of the house because of the odors then the AFM Ecolacq is the way to go. Understand you need to set your expectations for what you are going to get, how it’s going to apply. It may even require you to get some material just to test, to see how it works before you tackle the entire project. So please feel free to reach out to us and ask those questions because we’d rather have you quite honestly, I’d rather have you not use the product than buy it, use it incorrectly, have a horrible experience, and now essentially blame the product because it didn’t do what you thought it would do. You really need to educate yourself on what’s all involved in a process like kitchen cabinet, remodeling, it’s a chore. It’s a big deal folks. And it’s not just as easy as slapping a new coat of color a wall surface. That’s simple. This is not.
Alright I don’t want to beat that one any heavier. So let’s move on to a final question that Jay got- Jay got a question from a customer who is looking to install a natural linoleum floating floor on a garage floor, a concrete garage floor that is being remodeled into a livable space problem is that they have a lot of moisture in the garage. That’s seeping up through the concrete because of high water table. So they wanted to know the best way to seal the moisture, prepare the floor and protect what’s going to be installed. They’re also concerned about a radon gas. So my recommendation there would be a couple of things. First of all, what we want to do is understand how much moisture is really coming through that concrete. And is it just vapor pressure? Just a little bit of moisture? Is it actually water because of cracks because of an active leak somewhere?
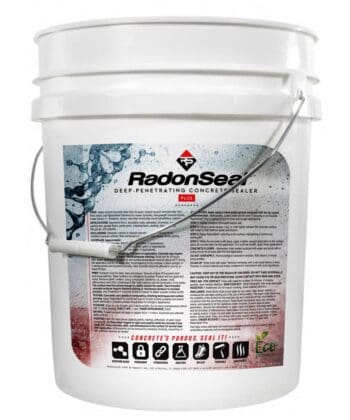
So we do the inexpensive plastic bag test. We take a plastic bag, tape it to the floor, let it set for, I don’t know 24-48 hours. Let’s just see how long it takes before you can get a moisture building up on the other side of the plastic, and to get the concrete, to get kind of dark because of moisture locked in. This kind of mimics what’s happening when you put down a vapor barrier in a new floor. So at that point, we kind of know what we’re dealing with. I’d recommend putting down a coat of the radon seal. A radon seal is what’s called a sodium silicate sealer. We talked about it back in June. We did an episode called Concrete and Stone Sealers our episode 317. On June 5th, that episode I was talking about this product called Radon Seal, sodium silicate penetrates into the concrete and creates a microscopic barrier within the concrete and it actually impedes that radon gas from coming through and moisture vapor from coming through. If it’s an active water situation where the water table is so high, it’s literally pushing water through the cracks and crevices of the concrete- this is not going to work folks, but for controlling the gases and controlling some of the water vapor, this is a great way to go. If you do have a higher amount of vapor, higher amount of water coming through, one of the things to look for would be what’s called Super Seal, and I’ll link it in the notes. Super Seal is a plastic and HDPE, high density polyethylene plastic. That is a dimpled material so that when it sits onto the surface, it actually leaves like an eighth of an inch air gap underneath it to allow moisture vapor to collect, and then evaporate off through the perimeter of the room.
It also does a great job of keeping any direct moisture in contact or from contact with your flooring material. So essentially it’d be Radon Seal, your Super Seal, which is plastic. It’s not a liquid, it’s a plastic material. And then you can put down either a false sub floor of plywood, or just directly to your floating linoleum floor. Now, one of the things to remember to remind you about that floating linoleum floor is if this is going into a garage before you install the floor, whatever you have to do to the sub floor to get a prepared to receive the flooring, please know that I want you to have whatever heating and cooling and air conditioning, whatever you got in there to climate control the space. That’s gotta be active and running for at least a week prior to the floor being acclimated in that space for at least three to five days.
So if that garage is being converted, you’ve got to have your HVAC system running in there. So, so you can control your humidity and control your temperature. I’d like to have humidity at 50% or less, your temperature around 70 to 80 degrees, then have your floor material set in that space. Don’t open it up, just set the cartons and that space and let it acclimate for three to five days. Once that acclimation period is over, now, you can open up and install it. Without doing that, you run the risk of the flooring material itself rapidly swelling because of moisture in the space, or if this has been installed in colder climates and the material had been in a warehouse in a warmer, more humid climate- if you start to install it without acclimation, you’re going to get gapping, and you’re going to get gaps between the boards around the perimeter of the room. So acclimate the floor prior to installation.
I hope that answered some of the most critical questions that we’ve had on our plates the last few weeks. Hopefully this is something that will work with your project. You learned a few tips and tricks folks. We can’t tell you how much we appreciate you listening to the show. We are the number one show relating to healthy homes and healthy building on the iTunes platform. We couldn’t have done it obviously without you all listening to the show and we greatly appreciate it. We get so many people reaching out to ask questions or hire our consultation services or biomaterials. The number one thing that they say is I heard your podcast and I love it. That just makes us feel so, so good! I’ve been at this for 30 years and to hear people who are listening to the podcast, heck if I had one person listening, I’d be happy, who wants to listen to me for a half hour every week, but it’s really, really humbling.
I appreciate it. I know Jay appreciates it and he wishes he could have been here on this episode again, too, but we’ll get our technical things figured out folks. If you would like, and we would encourage you to please go to iTunes and leave us a rating and a review. It takes a few seconds to click the five stars and maybe type a few words of why you’d like to show or how you found us, we greatly appreciate that. As the reviews and ratings come in, it pushes our show higher and higher in the search engines. It allows people in other parts of the world to even find the show. We’ve been very popular in the UK and in Germany, Australia. Every corner of the world. it seems as is list listening in at least a little bit, and we greatly appreciate that. And again, I owe it all to you all, so thank you folks. We’ll be back again next week with another episode of Non Toxic Environments, have a great week.
View Transcript PDF
In this episode…